We’ve been using Paul’s ‘idle’ hours to move things along on the house. Each morning, he starts work at 6am and works for several hours on the start-up. Then around lunchtime, he moves on to working on the house.
Today we worked to finish many of the tasks in Will’s Room.
This included finishing the painting.
As a reminder, “painting” one of our rooms means sanding, washing, fixing, filling, priming, and perhaps doing all of those things two or more times before moving on to actual paint. Then 1-2 coats of primer on the oil surface and at least 2 coats of paint on the walls and 2-3 on the trim. Alllll the way up the 12 foot walls and on the ceiling. Because of the humidity near the ceiling, it takes hours for paint to dry. So it took the last three days to finish painting walls and trim.
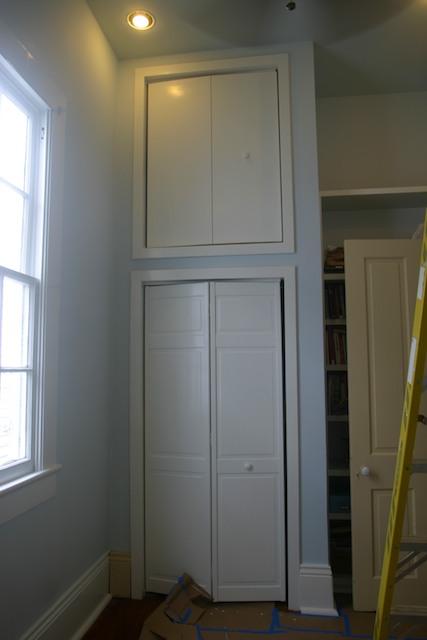
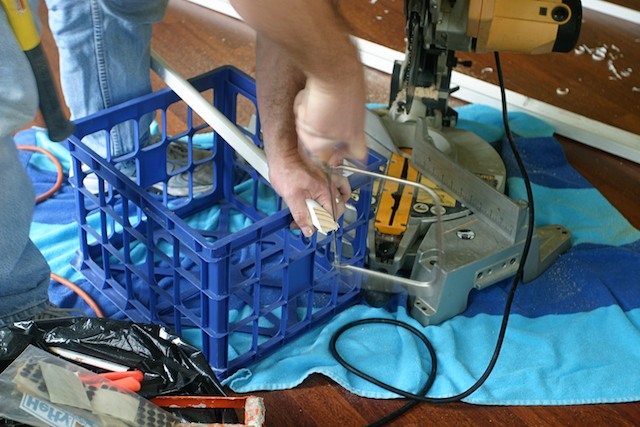
Then Paul moved into baseboards. Repairing open sections and installing toe molding. Delicate cuts make it all fit…
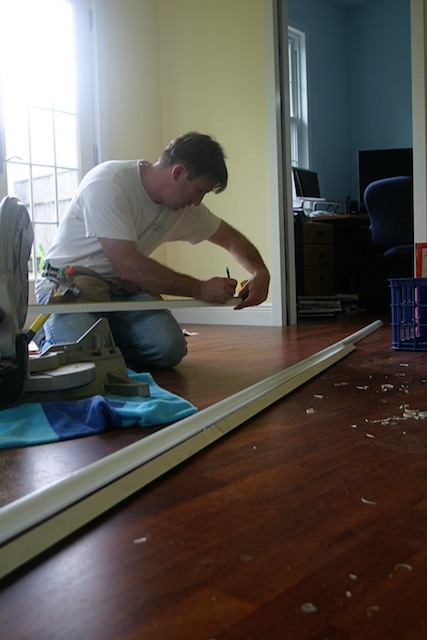
Notice that our family room is the sawdust catcher. We start to get nervous if at least one room in the house doesn’t have sawdust on the floor… it’s just not home without it.
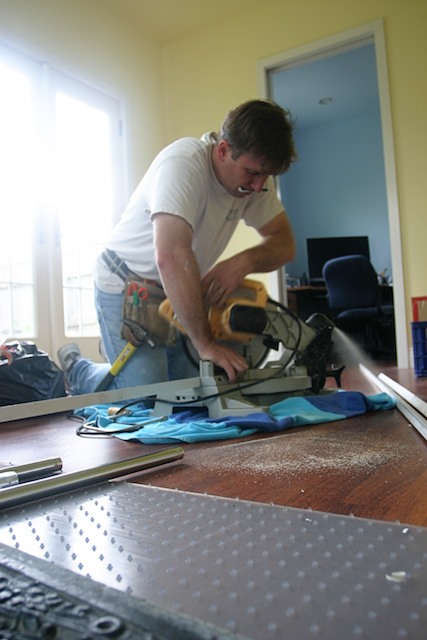
Here’s the big picture. I still can’t believe the awesomeness of this room.
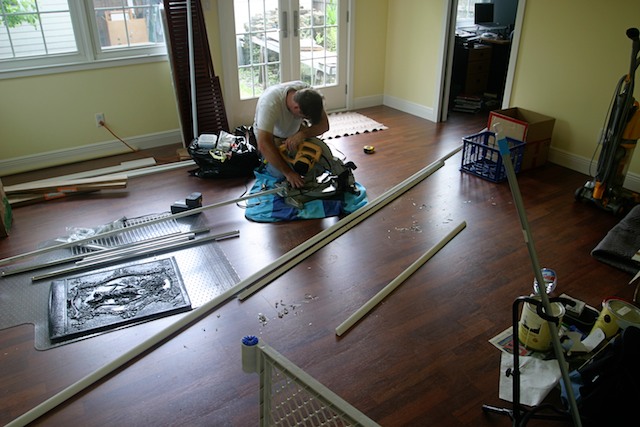
He’s making a round cut around the edge so that it will mesh in perfectly.
Ta-da! This also is to give a sense of how small the room is… although it felt huge after the paint was up.
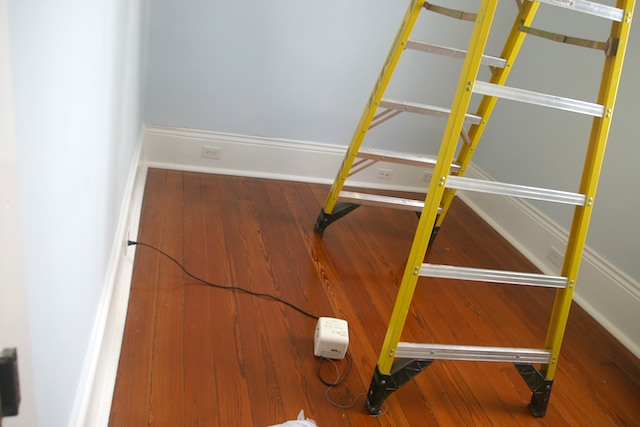
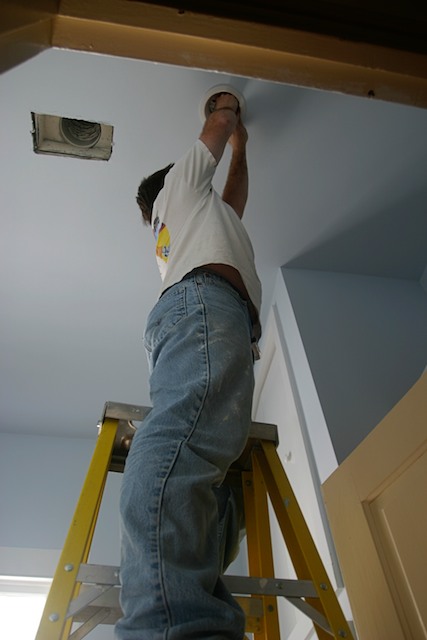
The lights went in over 4 years ago. Trim kits went in today.
We don’t claim to be speedy.
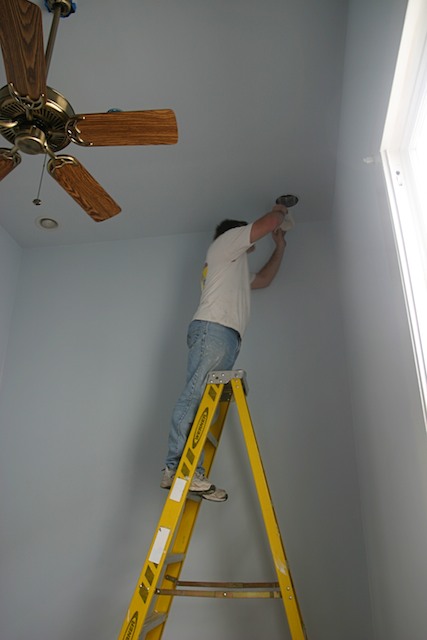
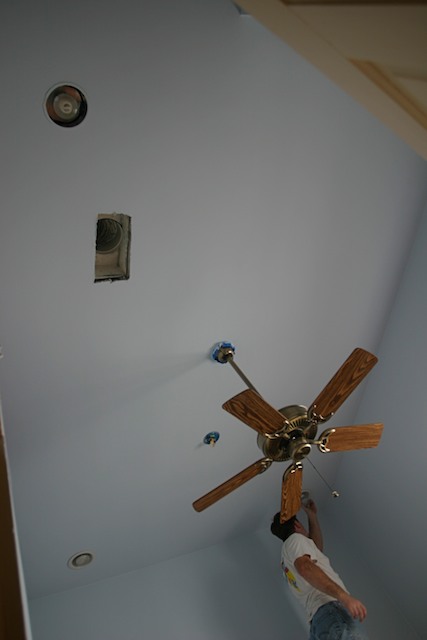
Ceiling view from the door to the hallway. It took Paul a lot of research, trial, and error to figure out how to install standard lights and trim kits in old ceilings, where beams are not spaced the same as modern construction. He actually fashioned special cutting tools and ways of working through the layers of lathe in order to place the lights where we wanted them in the ceiling and have them properly aligned and spaced.
When he was still trying to figure out the particulars, he actually contacted This Old House with specific questions about recessed lights in these types of ceilings. They never responded.
I figure it’s ’cause Bob Villa has nothin’ on Paul.
See the beige oil paint around the door? We’re still not sure what to do with the doors. Dip them and stain them? Paint the trim? Paint everything white?
We want to have them repaired and have working hardware (none of our doors actually close) and figure we should go ahead and dip them, too, since it’s usually part of the process. And it seems a shame to paint them after the beautiful cypress is exposed. But there is no way we’re stripping the doorways, so would it be strange to just have the doors be natural wood?
Trivial details.
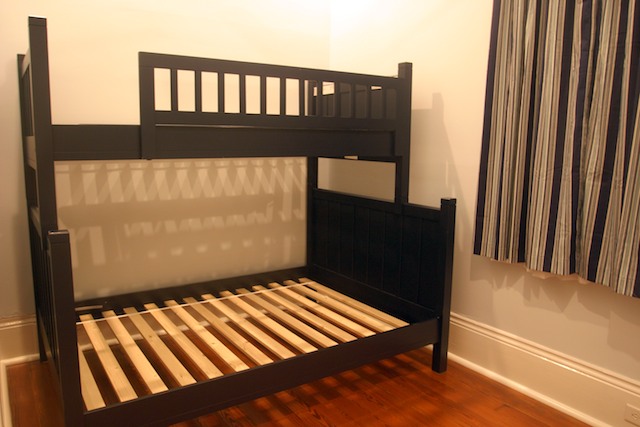
After scraping paint off the window, cleaning the floor, and hanging the curtains, we set up Will’s bed. The one that has been sitting in our front room in pieces since last September — the kids have had to climb on and around it piled behind our couch for almost a year. We’d have jacked it up on cinder blocks, but that’s how we store our cars in the front yard.
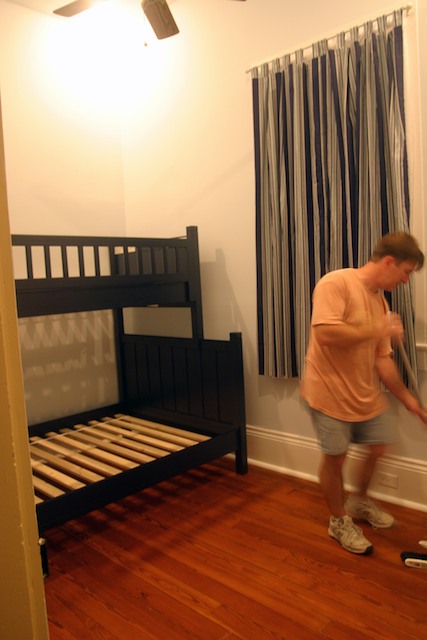
The bed!
Will currently sleeps in a full-size bed, so we have a mattress for the bottom bunk. We realized that we wouldn’t be using a box spring… what do we do with a box spring? Paul wants to put some carpeted plywood above to make a play space on top. I’m thinking we’ll wait a little longer before anyone goes up… I’m nervous about Kate.
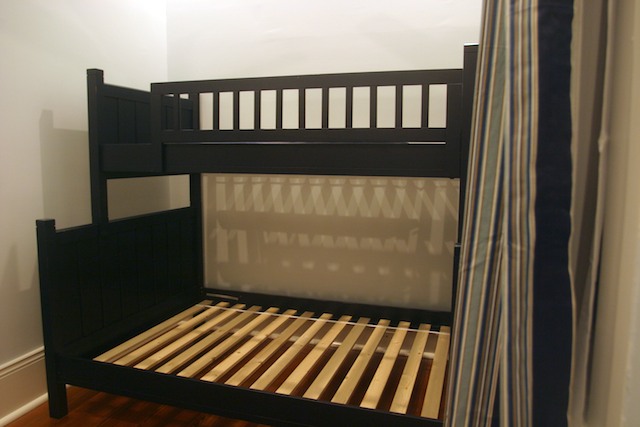
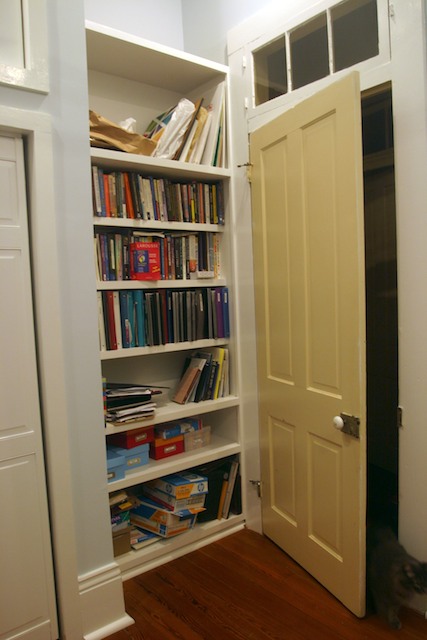
The bookshelves are still full of our work stuff. All of Will’s clothes are currently in his closet and though he won’t have a dresser, he’ll have plenty of shelf space!


Phyllis | 31-Mar-09 at 10:18 pm | Permalink
Holly and Paul, its so interesting to see all you’ve done. You may be exhausted, but the interiors are really looking terrific. I appreciate everything you’ve done to make the house your home, and it’s never looked better! Congratulations!
Love,
Phyllis
de | 01-Apr-09 at 4:53 am | Permalink
Impressive.
I want that bed 🙂
Emily | 01-Apr-09 at 12:49 pm | Permalink
Looks great!! What an *awesome* bunk bed, it’s definitely worth the wait! I love the idea of the play loft on top too. :O